Installation
Talo takes advantage of features from C# 9.0+. If you receive compilation errors after installing the package, you may need to make some configuration changes in your Unity project. For more info, check out this article.
Import into Unity
Using the Unity Asset Store (recommended)
The easiest way to add Talo to your project is by downloading it from the Unity Asset Store. Simply visit the Talo Asset Store page and click "Add to My Assets".
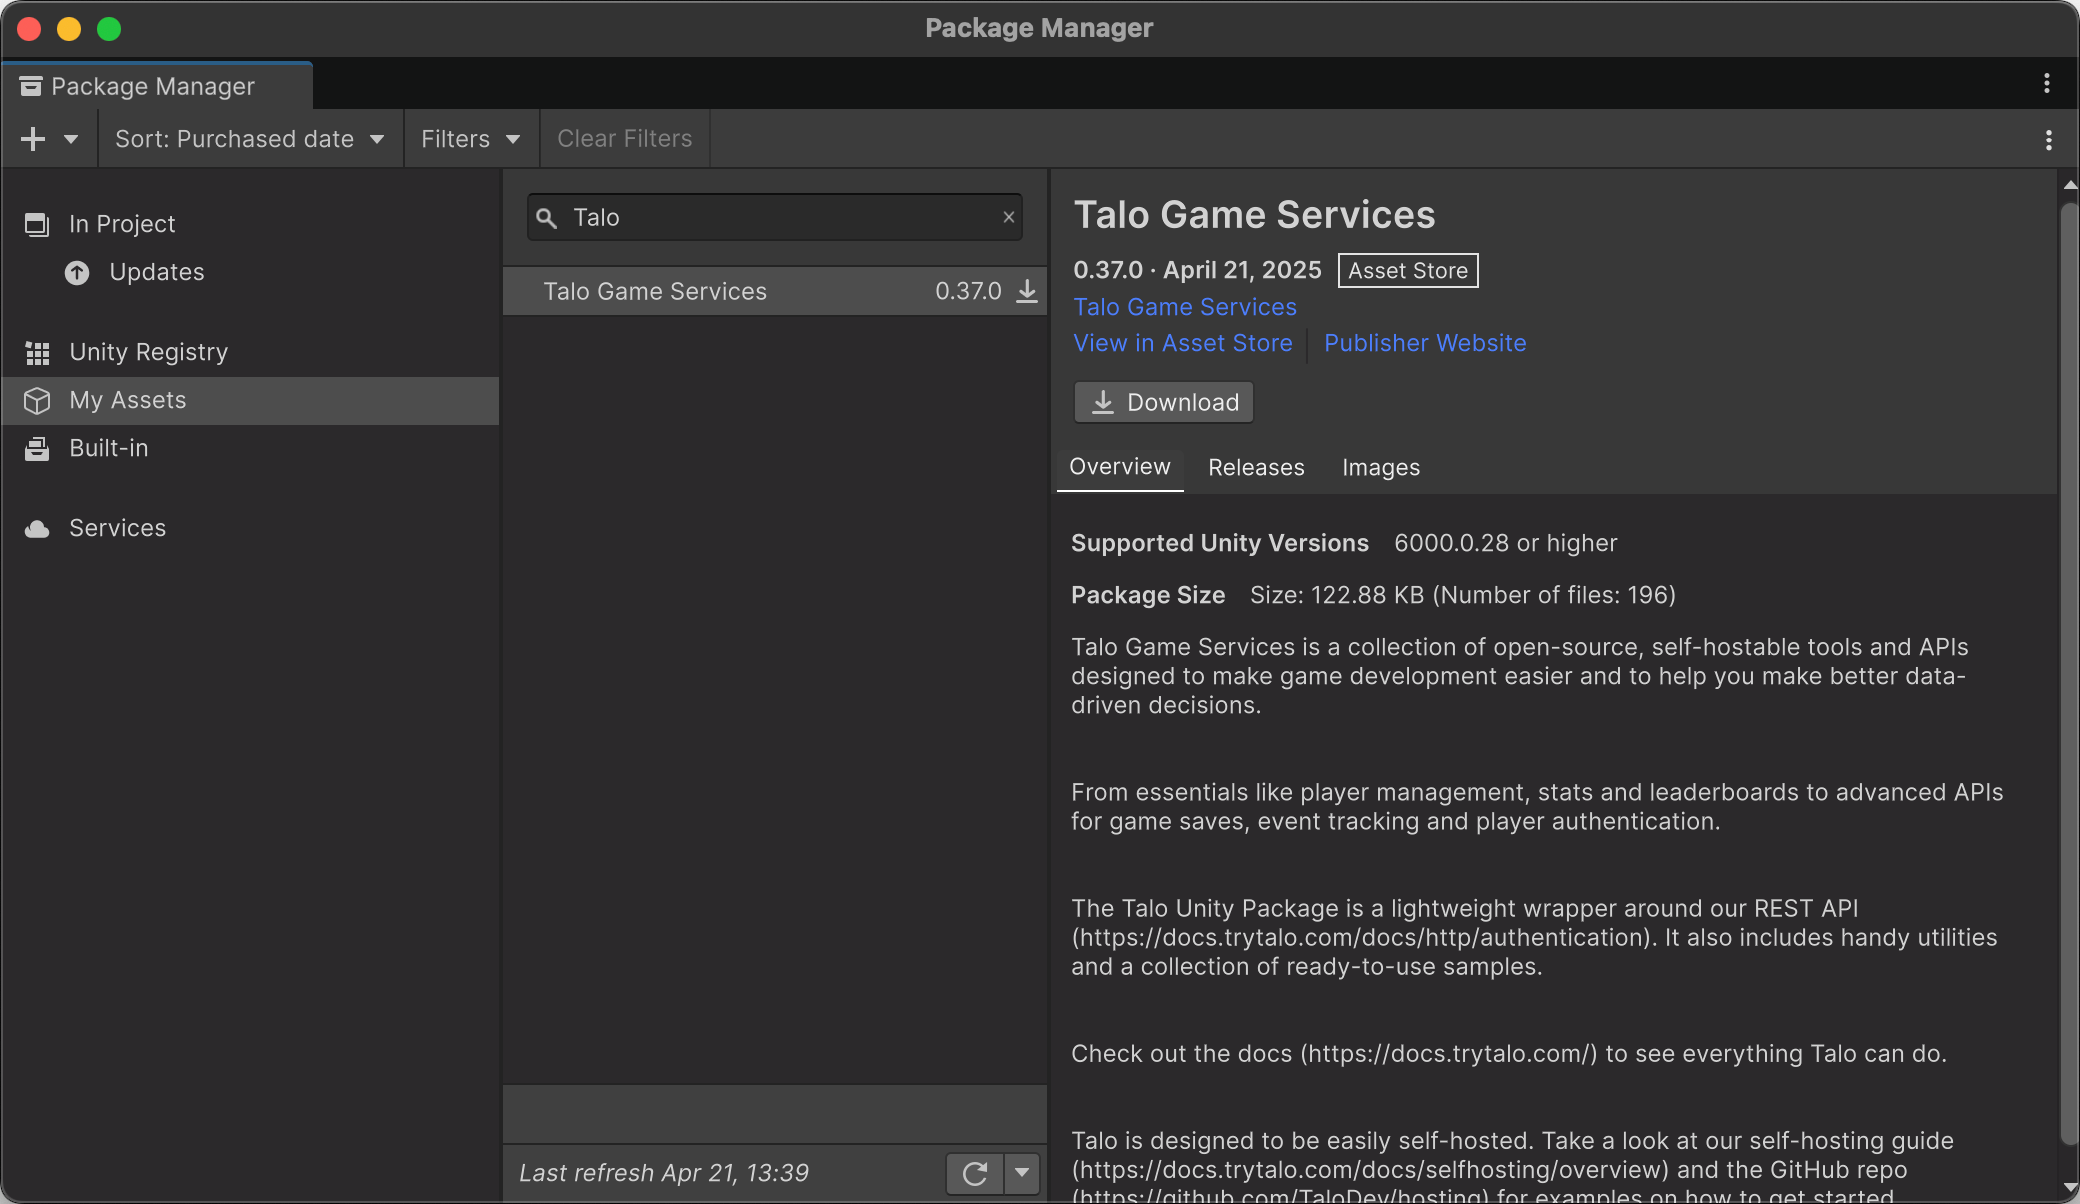
To add Talo to your project, open the Window > My Assets window, find Talo Game Services and click Download.
If you want to update your package, simply repeat the same process.
Downloading from itch.io
You can download the latest version of the Unity package from our itch.io page.
Once downloaded, you can open the talo.unitypackage file to import it into your project.
Generate an access key
Visit the Talo dashboard, login or create an account (and confirm your email address), and visit the Access Keys page.
Choose the scopes available to your access key (you'll need the read:players and write:players scope to use the package) and create your access key.
Save your access key somewhere securely.
Create a Talo asset
Once the package has been imported, right-click in your Resources folder, click Create > Talo > Settings Asset. Paste your newly-created access key into the access key field and you're ready to go.
Your settings asset must always be at the top-level in the Resources folder and named Talo Settings.
Self-hosting
If you're self-hosting Talo, you can configure your custom endpoint here in the Settings Asset.
Settings reference
You can visit the settings reference for a detailed overview of Talo's configuration options.