Installation
Import into Godot
Check out this blog post on installing the Talo Godot plugin for a detailed walkthrough
Using the Asset Library
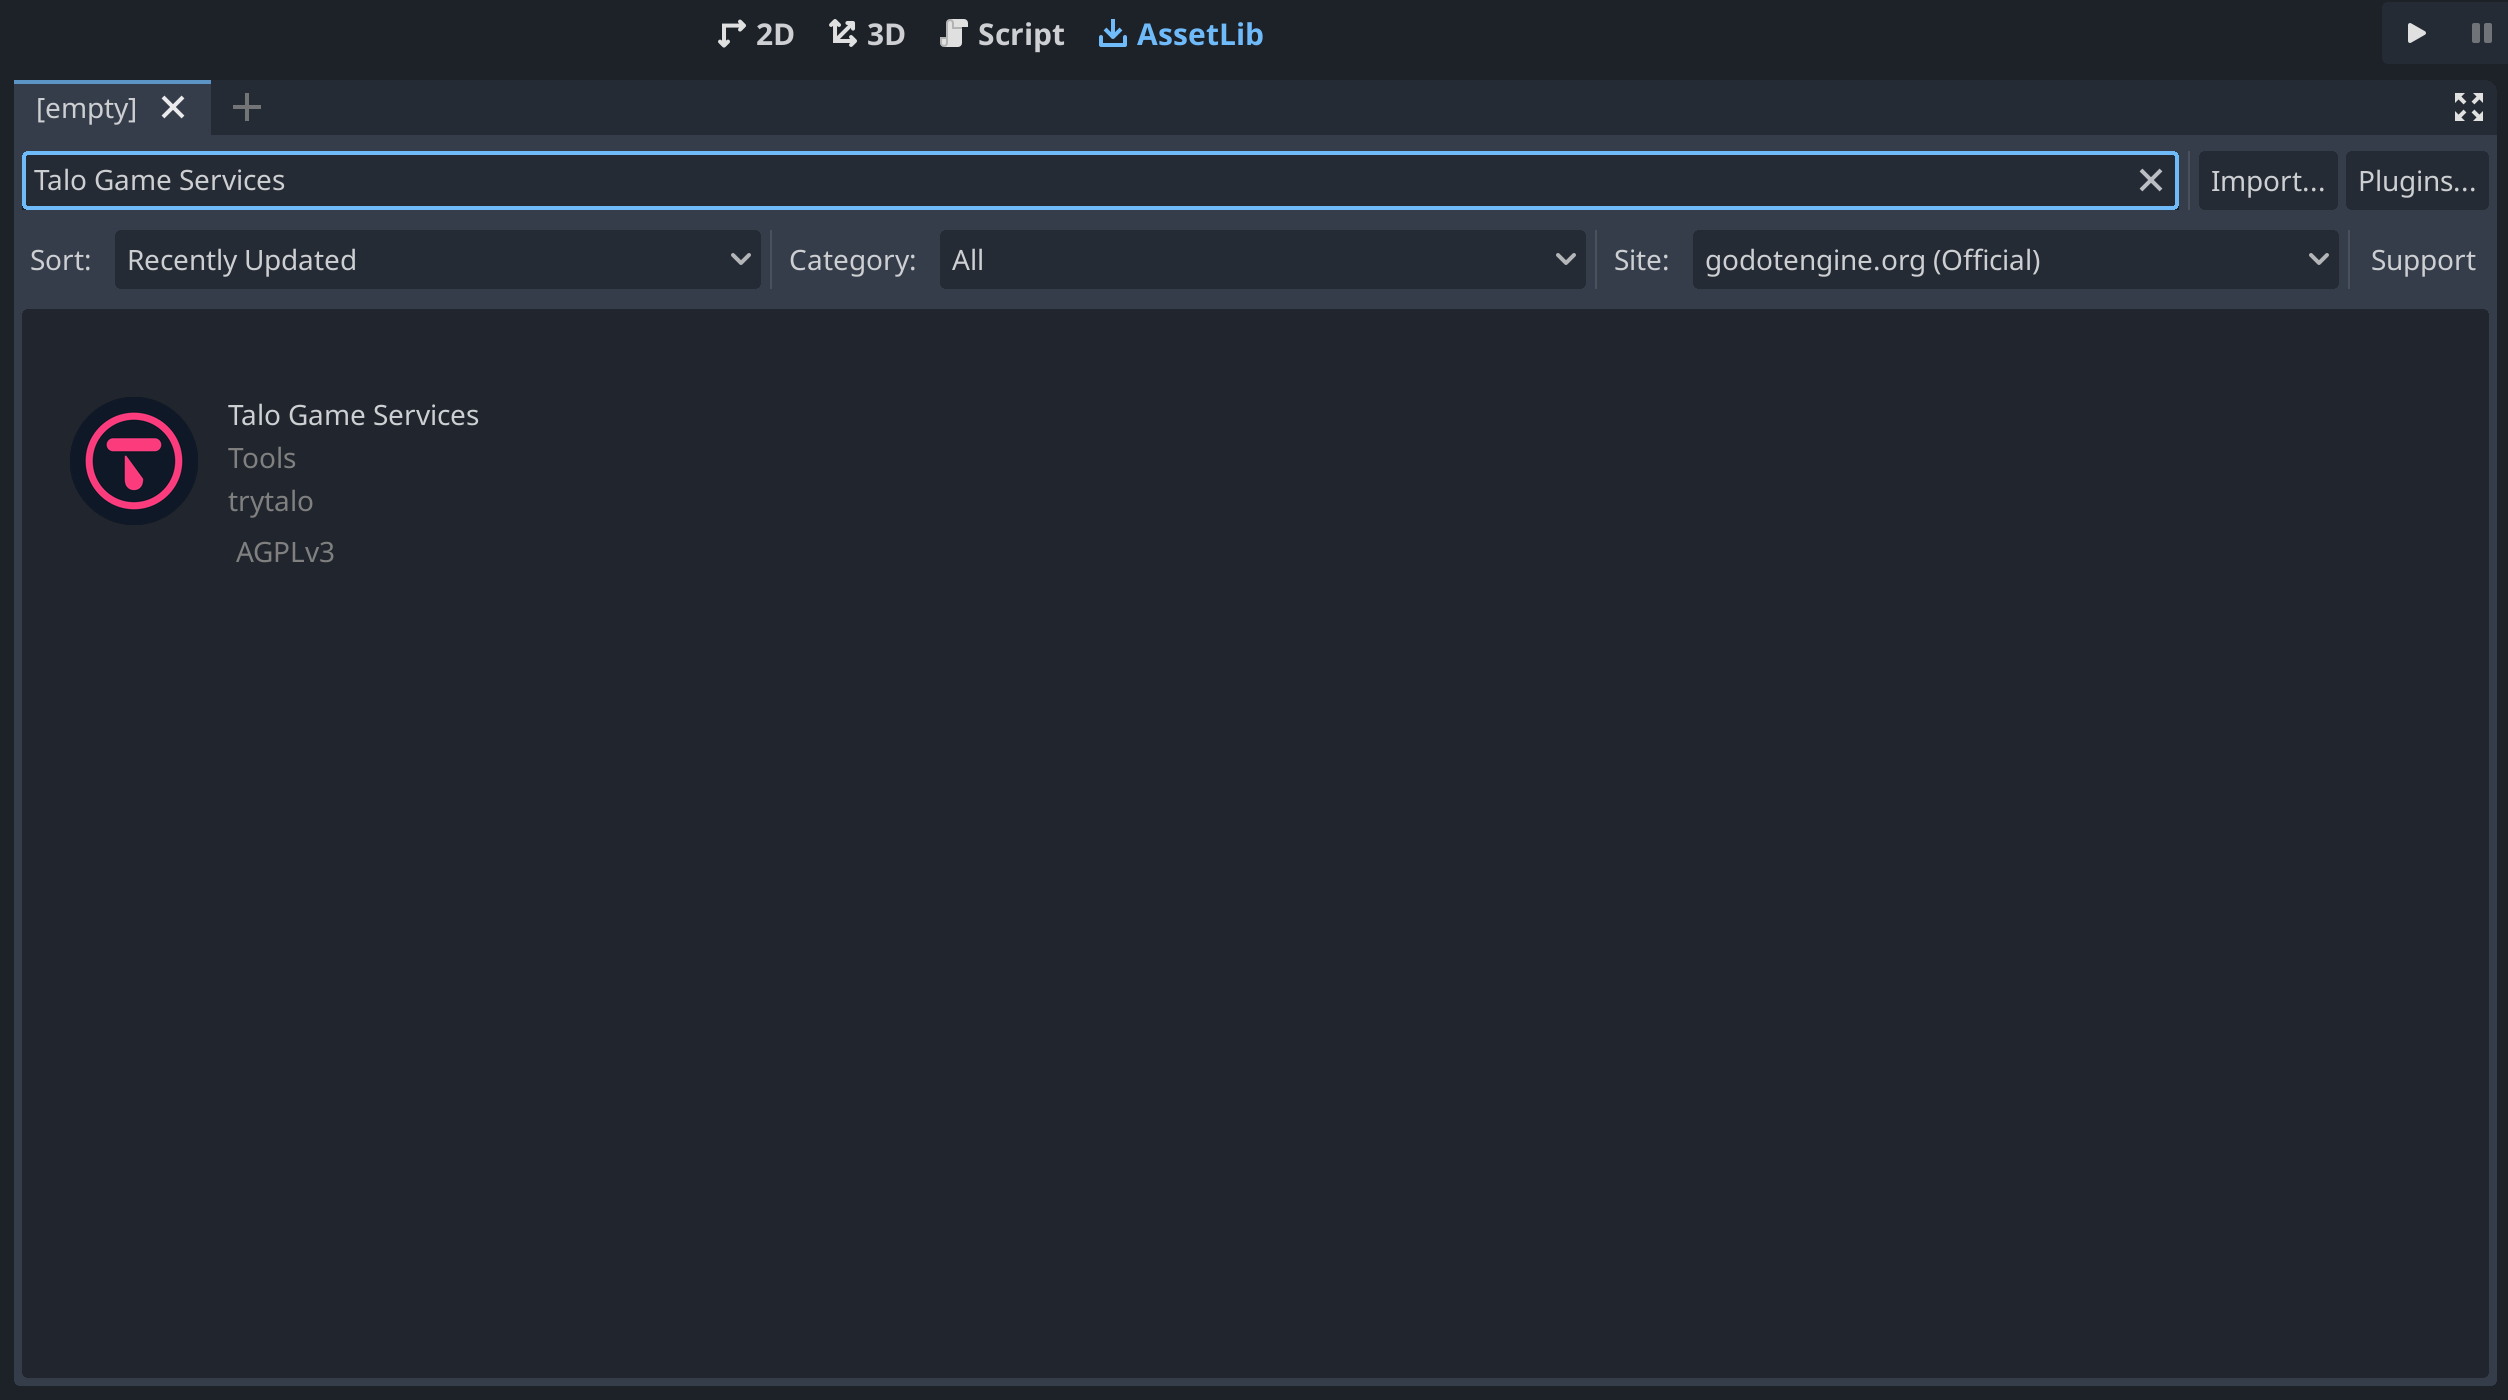
The Godot Asset Library is the recommended way to download Godot plugins. Open the AssetLib tab in Godot and search for "Talo". Click into the asset and click Download. Here's a direct link to the asset.
Downloading from itch.io
You can download the latest version of the Godot plugin from our itch.io page. Simply unzip the plugin and copy the addons/talo folder into your project.
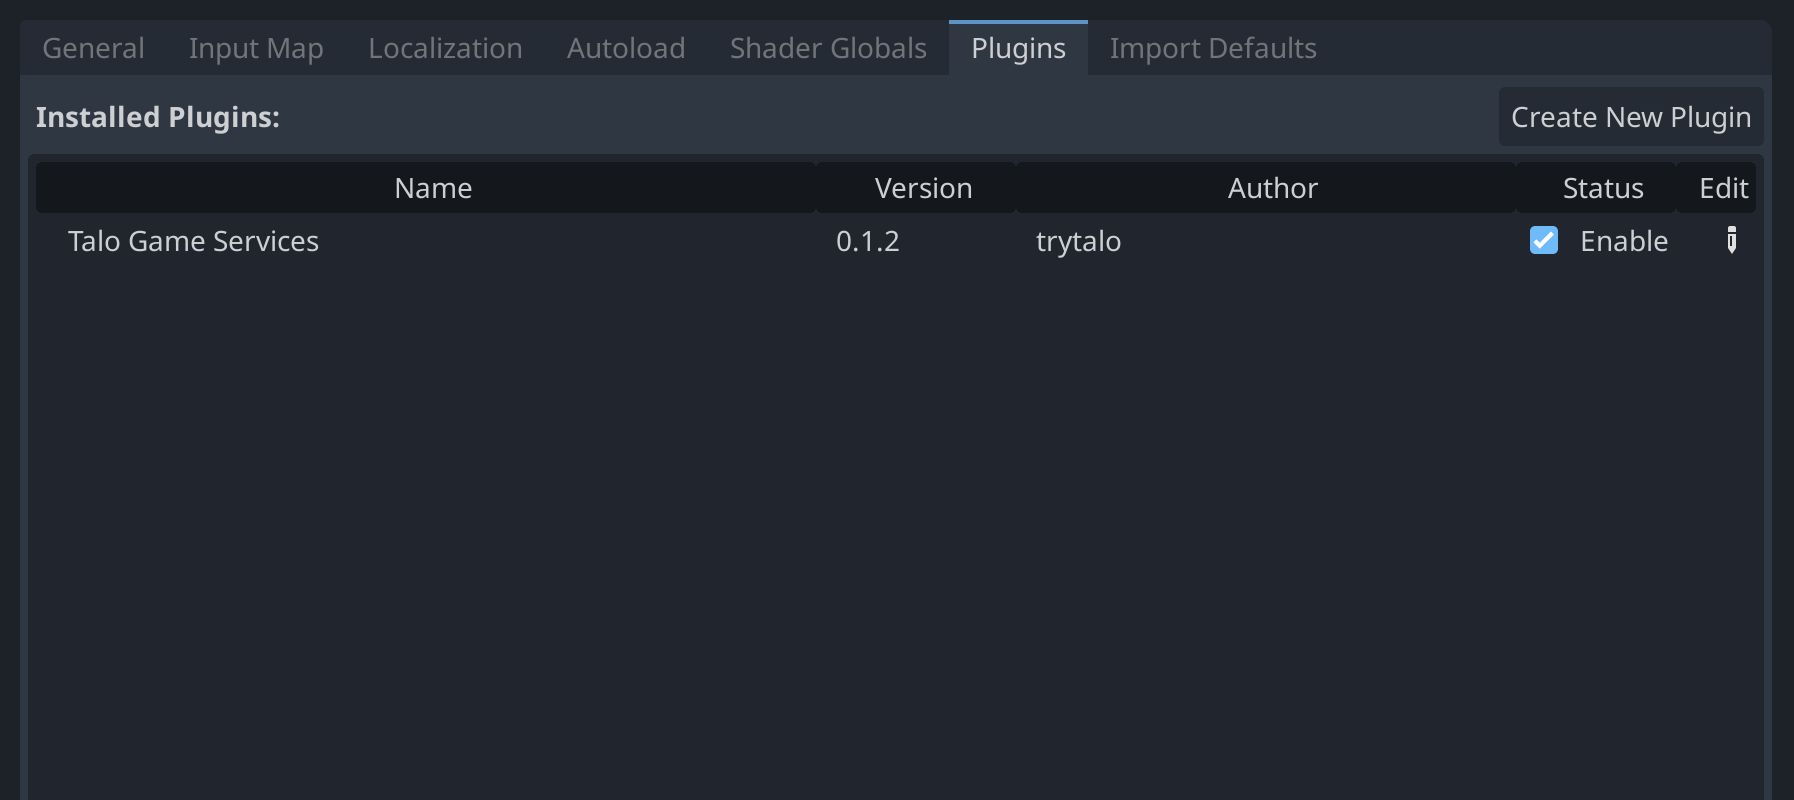
Enable the plugin
After installing the plugin, you must enable it in the Project > Project Settings > Plugins window.
Generate an access key
Visit the Talo dashboard, login or create an account (and confirm your email address), and visit the Access Keys page.
Choose the scopes available to your access key (you'll need the read:players and write:players scope to use the plugin) and create your access key.
Save your access key somewhere securely.
Create and update settings
The first time you run your game with the Talo plugin enabled, it'll create a settings.cfg inside the addons/talo folder. You can also create this file for yourself, the default file looks like this:
access_key=""
api_url="https://api.trytalo.com"
socket_url="wss://api.trytalo.com"
You can also add the following section for logging:
...

[logging]
requests=true
responses=true
Self-hosting
If you're self-hosting Talo, you can configure your custom endpoint here in the settings.cfg.
Settings reference
You can visit the settings reference for a detailed overview of Talo's configuration options.